 |
| POWER. Model: Angelica Fandialan |
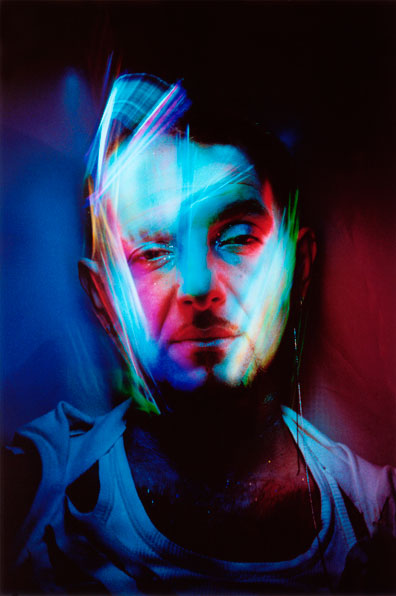 |
| Original concept I wanted to try. Photo by Patrick Rochon |
LIGHT PAINTING is done by exposing your image longer to capture the path of light you are using to draw. This is easier to do in pitch black situations/places (I mean, duh, but we really struggled with our shoot because it was afternoon so we had to find the deepest, darkest, most evil -- just kidding -- place in UPLB (where we shot). We ended up shooting in this basement area. The place looks abandoned except that, there was a choir practice happening, which made it, well, sinister.)
The photo above was shot with a Canon EOS 1000D. ISO was set to ISO 100; aperture to f/29, and; exposure time was 30 seconds. I played with a lot of concepts. The first photos we shot was in an empty space, but it had windows so it was very tricky. Another concept I wanted to try was to use different colors of light to paint, unfortunately, I wasn't able to bring a lot of colored lights. Sadly, it didn't really work for me, so I asked a friend to model for me. I used a white light and a yellow light. The yellow light proved to be a great addition because it gave a little color to the skin. I also used the yellow light to create an 'energy ball'. The white light was mainly used to light the background and my model.
It was really challenging to capture the photo above because the model had to stay in that position for 30 seconds, which may seem to be a short time, but it seemed forever. Kudos to her, she made it look so effortless.
What we did above is just one idea to try when doing light painting. There are a lot of examples you can find in the internet, here are some interesting ones:
 |
| From http://www.q8ieng.com/ |
 |
| Photo by Samantha Wild |
No comments:
Post a Comment